Product Description
Aurora Imaging Library (Formerly Matrox Imaging Library)- 1D and 2D Measurement Tools
1D and 2D measurement tools Aurora Imaging Library offers three tools for measuring: Measurement, Bead inspection, and Metrology. These tools are predominantly used to assess manufacturing quality. The Measurement tool uses the projection of image intensity to very
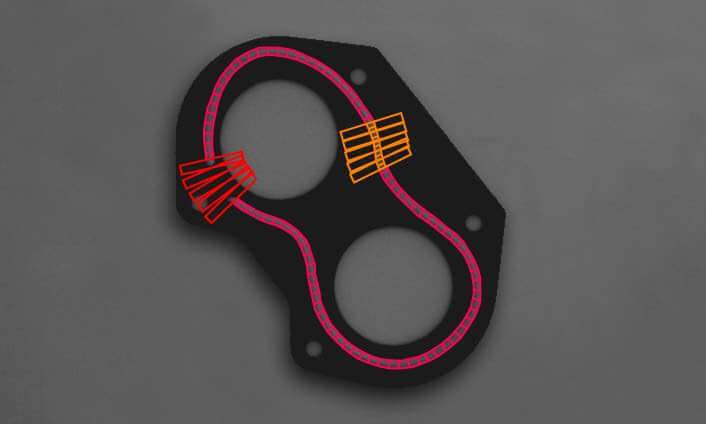
quickly locate and measure straight edges, stripes, or circles within a carefully defined rectangular region. The tool can make several 1D measurements on edges, stripes, and circles, as well as between edges, stripes, and circles. The Bead inspection tool is for inspecting material that is applied as a continuous sinuous bead, such as adhesives and sealants, or the channel where the bead will be applied. The tool identifies discrepancies in length, placement, and width, as well as discontinuities. The Bead inspection tool works by accepting
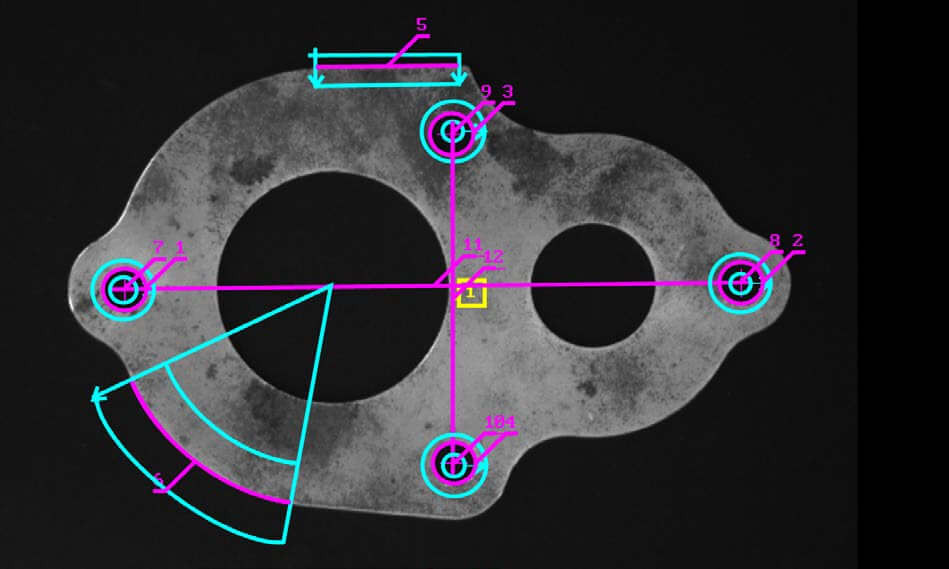
a user-defined coarse path as a list of points on a reference bead and then automatically and optimally placing search boxes to form a template. The size and spacing of these search boxes can be modified to change the sampling resolution. The allowable bead width, offset, gap, and overall acceptance measure can be adjusted to meet specific inspection criteria. The Metrology tool is intended for 2D Geometric Dimensioning and Tolerancing (GD&T) applications. The tool quickly extracts edges within defined regions to best fit geometric features. It also supports
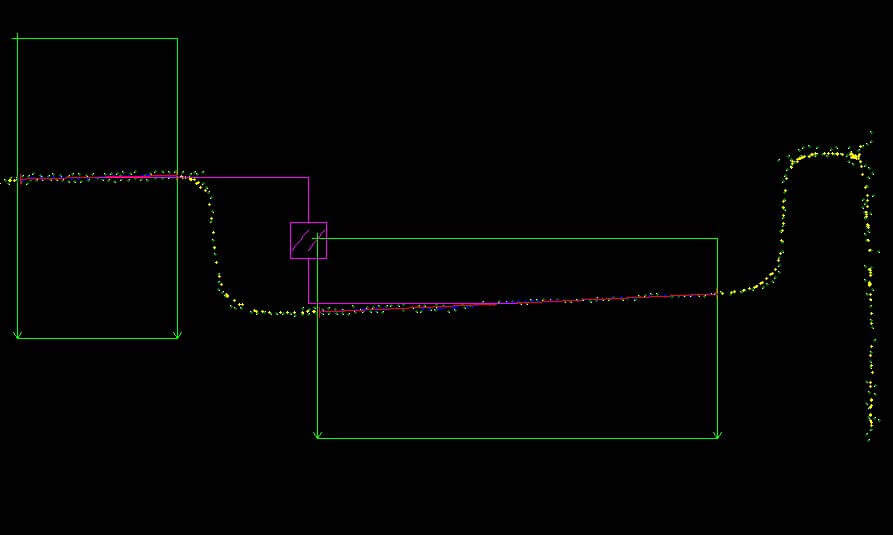
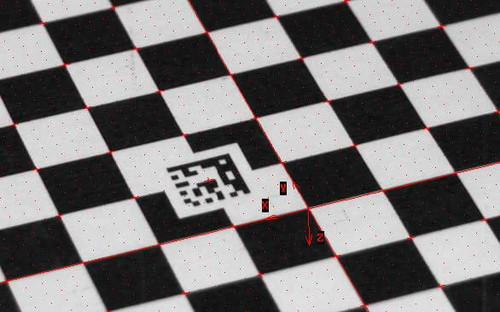
the construction of geometric features derived from measured ones or defined mathematically. Geometric features include arcs, circles, points, and segments. The tool validates tolerances based on the dimensions, positions, and shapes of geometric features. The tool’s effectiveness is maintained when subject to uneven changes in scene illumination, which relaxes lighting requirements. The expected measured and constructed geometric features, along with the tolerances, are kept together in a template, which is easily repositioned using the results of other locating tools. The Metrology tool— along with the use of the Calibration tool—enables templates to be independent of camera position; it can also work on a 3D profile or cross-section image.


